Thursday 5 September 2013

How to make: A basic Bow!

Step by step instructions:

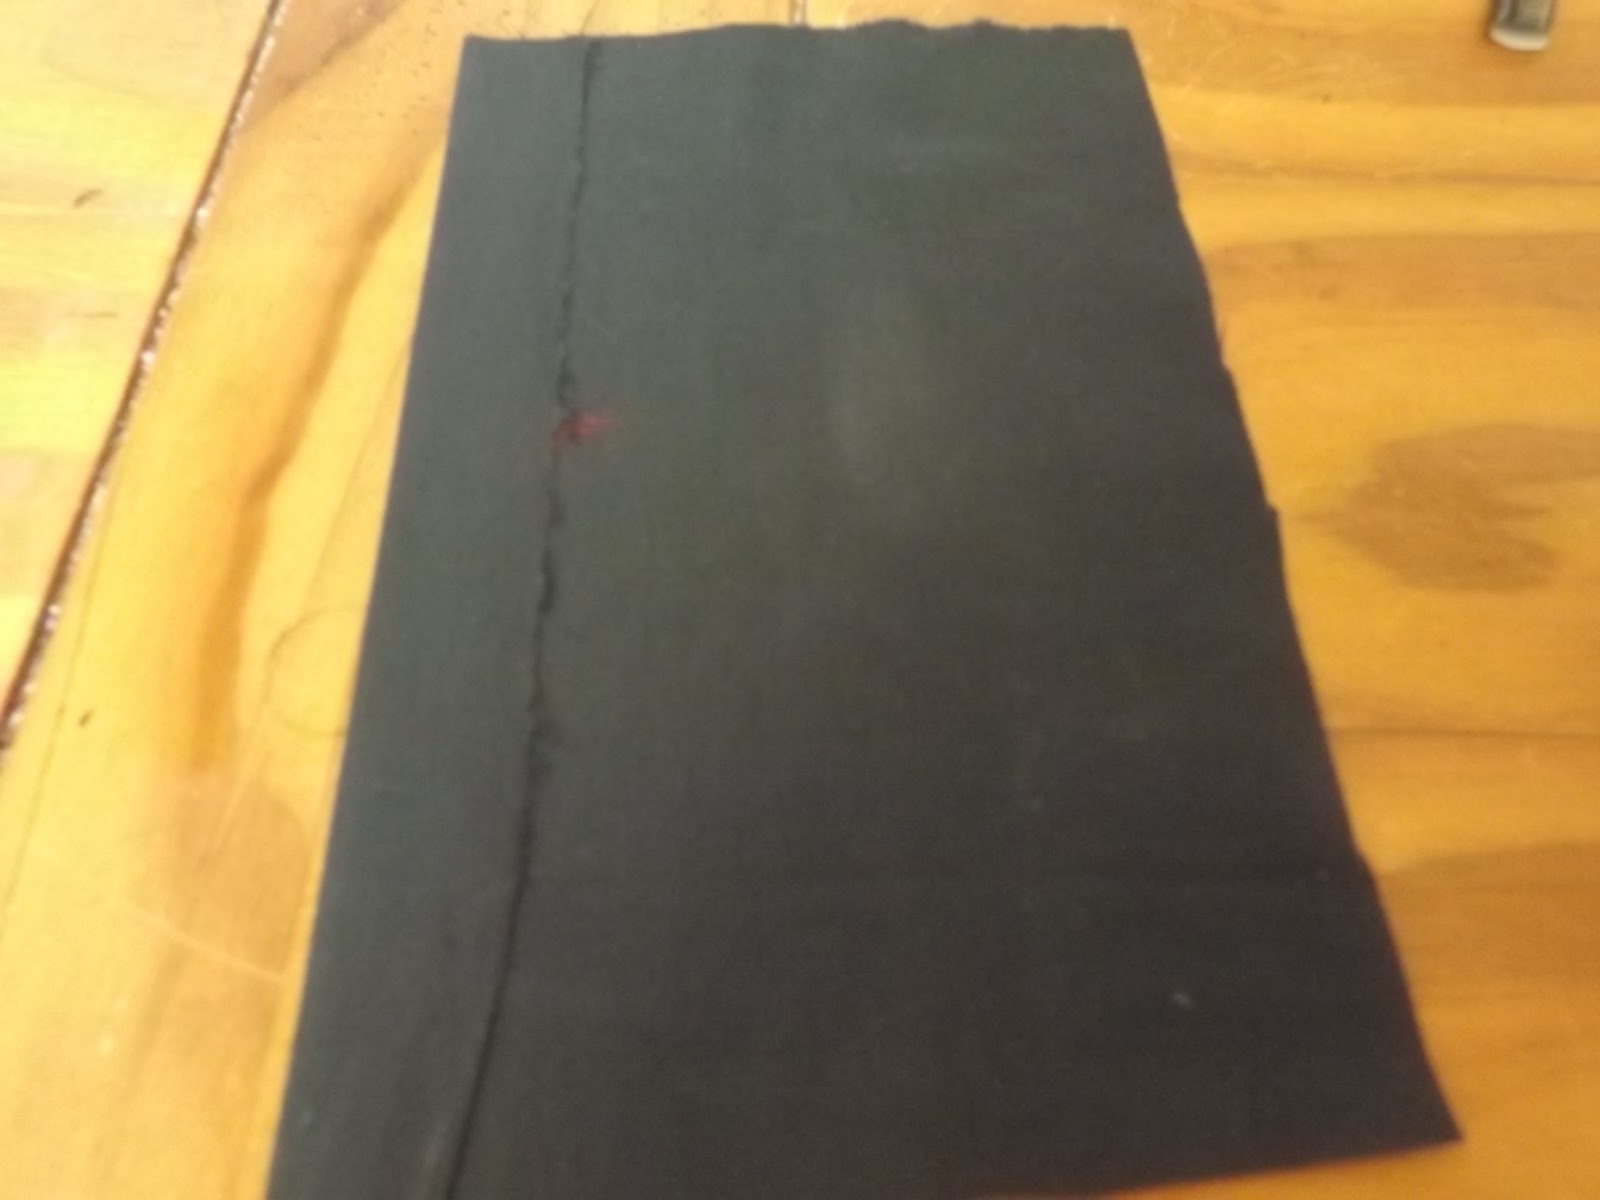
Step 1: Cut out a piece of your desired fabric. For a tiny hair bow I recommend 5 inches by 8 inches. You can make your fabric larger if you want a bigger bow!


Step 2: Fold one side over by 1 inch. You can fold it less/more if you would like a thicker/thinner bow! Press the fold down using your iron. Use steam if possible.


Repeat with the other side.


Step 3: Now fold over the other end, making sure to fold just after the halfway point.


Fold the other side over the previous fold. Making sure to overlap the two. 
Now press with an iron.


Step 4: Glue the overlapping folded fabric together at the middle.


 Wait for it to dry. It should not take long.
Fabric glue works well. You can also use a hot glue gun.


Step 5: Take a narrower piece of fabric. Roughly 1.5 inches by 5 inches. Fold the two edges in to the centre and press them down.


Make sure they overlap.


      Step 6: Now scrunch up the larger piece of fabric, 
scrunching both edges to the middle.


Step 7: Take the long thin piece we mad earlier, and wrap it around the bow. Making sure the two ends meet at the back of the bow.


Trim the ends of the strip if it is very long. You want to aim for about 1ch surplus at each end.


Step 8: Fold one end down against the back of the bow. 


Apply glue onto the piece you have just folded down.


Step 9: Now fold the other end of the strip down agains the glue, overlapping the previous end. Press it down with your fingers for a few seconds to a minute (if needed) to make sure the glue holds.
If fabric glue is not working very well, super glue or a hot glue gun will do the trick.


After the glue has dried, cut off any long edge that might be left of the strip, so that it cannot be seen at the front. 

Step 10: Now it should be al dried and finished! 
Just make sure to straighten out the edges of the bow evenly to make it look neat.


 Enjoy! :)


How to: Cute stuffed heart photo frames for your home! Tutorial.


This time last year I  found myself packing bags, hiring a van, buying furniture, sorting out student loads and moving into my very own place. Me and my Boyfriend where going away to University together!


We did it slightly different to most students who will move into Halls of Residence in their first year, or into a student house. We just went a got ourselves a one bedroom, unfurnished flat, and made it our new home! Over four hours away from our families!


During the summer holidays, just weeks before the big move in day. I decided I wanted to put up lots of Photos of our family and friends. I wanted bright, pretty, colourful walls to truly make this new place our home!

So I went into my box of scrap fabrics, and founds lots of pretty pieces of patchwork I could use! I made some of these lovely little picture frames to help decorate the new apartment!

 Hopefully this tutorial will be helpful for those moving into a new property, or just wanted to put something new and unique up in their home! :)

Here (along with the video, which has a full detailed tutorial) are some photo's that might give you inspiration!


How to make Cloth Pads!


How to make cloth Sanitary Pads!
(Video Tutorial made by myself)


It wasn't until recently that I became aware of such things! When I first read about re-using sanitary pads I gave the generic first impression of 'eww that's gross!'. It wasn't until I started looking into more natural (and safer) alternatives, such as the Mooncup! (Which I absolutely adore! Best buy ever!) and began talking to some friends who carry their babies using wraps, use cloth nappies etc... That I really began to have second thoughts about re-usable pads too! After learning about all the awful  chemicals that are put into those disposable pads, and the really great benefits of using re-usable pads (or cups) it makes you want to learn even more! 


As a young costume maker/designer I've always been one for making my own clothes, accessories etc... So I got online, started doing my own research into how Cloth Pads are made and what fabrics should be used and I figured I'd make some myself!


Have fun!

Hello!

I absolutely adore designing, painting, drawing, sewing, reading, theater and all types of crafts. Hopefully this blog will reflect what I do with most of my days, and how I relax and attempt to escape the stresses of life. I do try to help others when I can, and hopefully this blog will reflect that. If I can give someone tips/a tutorial on how to make something, I will do so happily.

I hope you enjoy my blog...
In my next post you will discover my inner hippy side... Where I create a tutorial on how to make Cloth Sanitary Pads!

-Just another Student with a BLOG!